Google Search Console provides valuable insights into your organic (non-paid) Google traffic to your website. Let’s create your account:
Table of Contents
ToggleStep 1 – Create Account
Go to https://search.google.com/search-console/about and click “Start now”.
Sign in to your Google Account.
If you don’t already have one, read How to Create a Google Account with your Existing Email Address then continue here.
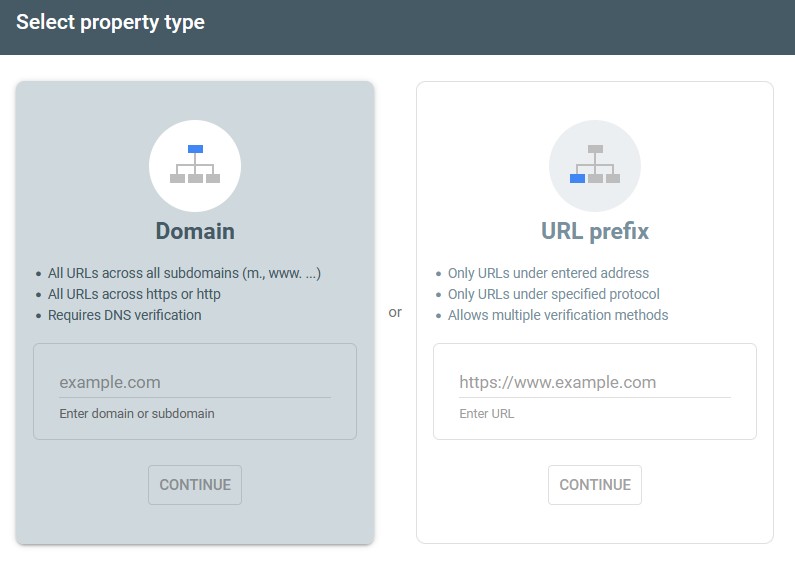
Step 2 – Select Property Type
Use the “Domain” property type for comprehensive monitoring.

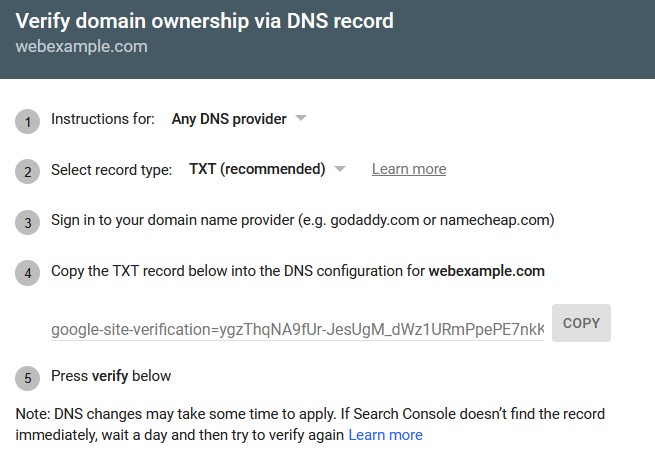
Step 3 – Ownership Verification
You will then need to verify that you own the Property (website) you are setting up.
Select “Any DNS provider” and “TXT” record type.
Copy the TXT record provided and send this to your web developer, asking them to “please add this TXT type DNS record for Google Search Console verification purposes”.
It may take a few hours up to a couple days for verification to take place.
The good news from an analysis standpoint is that often historical data will appear after a few days, so we have more history to look through for SEO purposes than just when you get this in place.

Step 4 – Share Access
You will likely want to share access with another staff member of your company for redundant access, as well as your marketing team or agency you are working with on SEO.
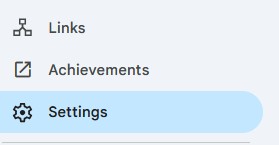
In the left column, click “Settings” at the bottom:

Next, click “Users and permissions”.

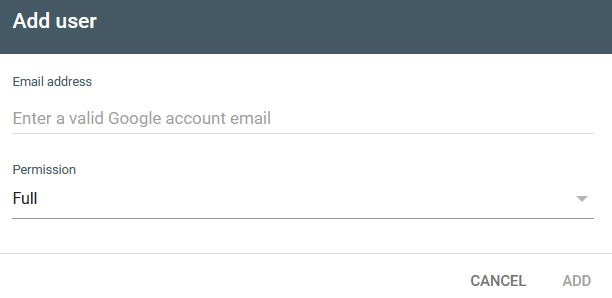
Click “ADD USER”, then enter their email.

Generally, “Full” user permissions are appropriate for your marketing agency (us), and “Ownership” is appropriate for other staff in your company.

That’s it, great job!
- How to Create a Google Analytics Account - August 1, 2025
- How to Create a Google Search Console Account - August 1, 2025
- How to Create a Google Account with your Existing Email Address - August 1, 2025
